Quick tutorial #8: prepare and fill-up your emulsion shocks
Quick tutorials are a simple way to understand the settings of your car in a few minutes.
A subject, a short video, in order to answer 2 essential questions: WHY and HOW?
VIDEO
The suspension of your radio-controlled buggy is a critical element that must be taken seriously.
We have already seen in this blog article what are the advantages of using an "emulsion" type cap for your shocks.
Before proceeding to the technical part, it is important to specify a few essential elements.
First of all, I advise to use only one brand of oil in your RC bag.
Indeed, it is essential to have a good assortment of oils to be able to react in all track and temperature conditions.
Each brand of oil has its own specificities, and from one brand to another, the measurements are never 100% equal.
One day at the track you have to borrow a bottle to a colleague because you have no more oil in 500cst? This is a mistake!
We have selected for you an "essential" batch of the most commonly used oils, in order to give you a nice starting batch!

TECHNIQUE
Removing your shocks from the car will allow you to visually check a few things.
First, make sure the rod is not bent.
We don't need to tell you here that if the rod is bent, you will have to change it, and in this case check the bushings and seals that may have also suffered from this damage.
Then, check that rubber boot is not damaged.
If it is, it is also imperative to change it. A punctured protection will allow dust to penetrate to the foot of the damper and thus the seals.
This is the number 1 cause of black oil on a 1/8 competition buggy (as long as the body coating is of good quality).
In a long run, this could create leaks, harmful to the suspension of your car, and even more so in this solution of an "emulsion" type shock absorber.
FILLING-UP
Once the checks are done, we can move on to filling with silicone oil.
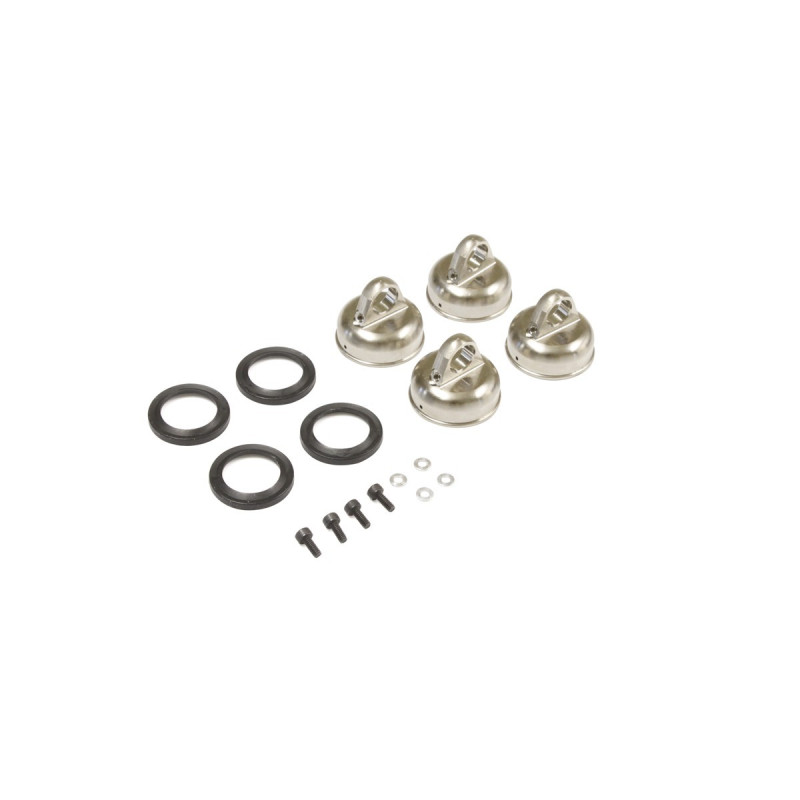
It is obvious that in this tutorial it is necessary to use shock absorber cap seals specially intended for "aeration" or emulsion use. The bladder is therefore not used here.
- 1. Fill the shock halfway with oil. You can fill it completely, but the time for the air bubbles to get out of the oil will be that much longer.
Spin the rod, so as to completely release the air bubbles trapped under the piston.
Wait a few minutes for all the air present in the oil to be evacuated.
You can use a vacuum pump, it will save you some time. However, the shock absorber will not be "made better", so there will be no gain on the suspension of your car.
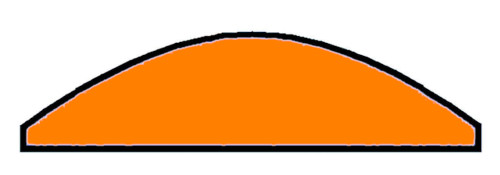
- 2. Once the bubbles come out, you can fill the shock up to the maximum.
The upper part of the oil should form a convex bubble (pointing outwards).
On some brands, you will also need to put a little oil in the bottom of the cap before closing (not necessary with Kyosho caps)
- 3. With the bleed screw (the small screw trapped in the cap) removed and the rod fully extended, you can close the shock cap.
- 4. Gently push the rod back into the shock absorber. Excess oil will spit out of the small hole at the top of the cap.
- 5. Close the bleed hole with the screw, or close it with your finger tightly.
- 6. Operate the damper 10 times. This number is not to be taken as a rule, but it will be specific to your habits.
The main thing is to always repeat the same procedure.
- 7. You can open the bleed hole again. Push the rod completely into the damper. Oil should come out again.
- 8. Keeping the rod in the shock absorber, lock the bleed screw in the cap.
Your shock absorber should be tight and should not make any particular noise.
If you have rebound (the rod comes out when it is completely in the damper) or if your damper becomes hard at the end of its stroke, you have not bled it properly.
In this case, open the bleed screw again and start over from step 7.
See you soon for a new episode!
The Shark
Reno Savoya
Share this content